
This article will show you how to create time-lapse videos using your OKIOCAM and the OKIOCAM Time-Lapse Google Chrome extension.
Please ensure that you have installed OKIOCAM Time-Lapse. Installation instructions can be found here.
Note: This tutorial uses the example of creating a time-lapse video of the process of drawing a cartoon, but this is far from the only use. You are limited only by your imagination.
1. Connect your OKIOCAM to your computer and launch OKIOCAM Time-Lapse.
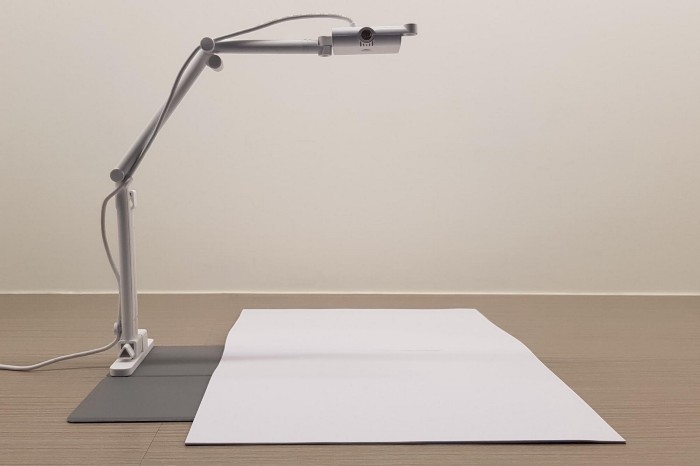
2. Set up your OKIOCAM in a stable position. For best results, your OKIOCAM should not change position at all during the time-lapse video creation process.
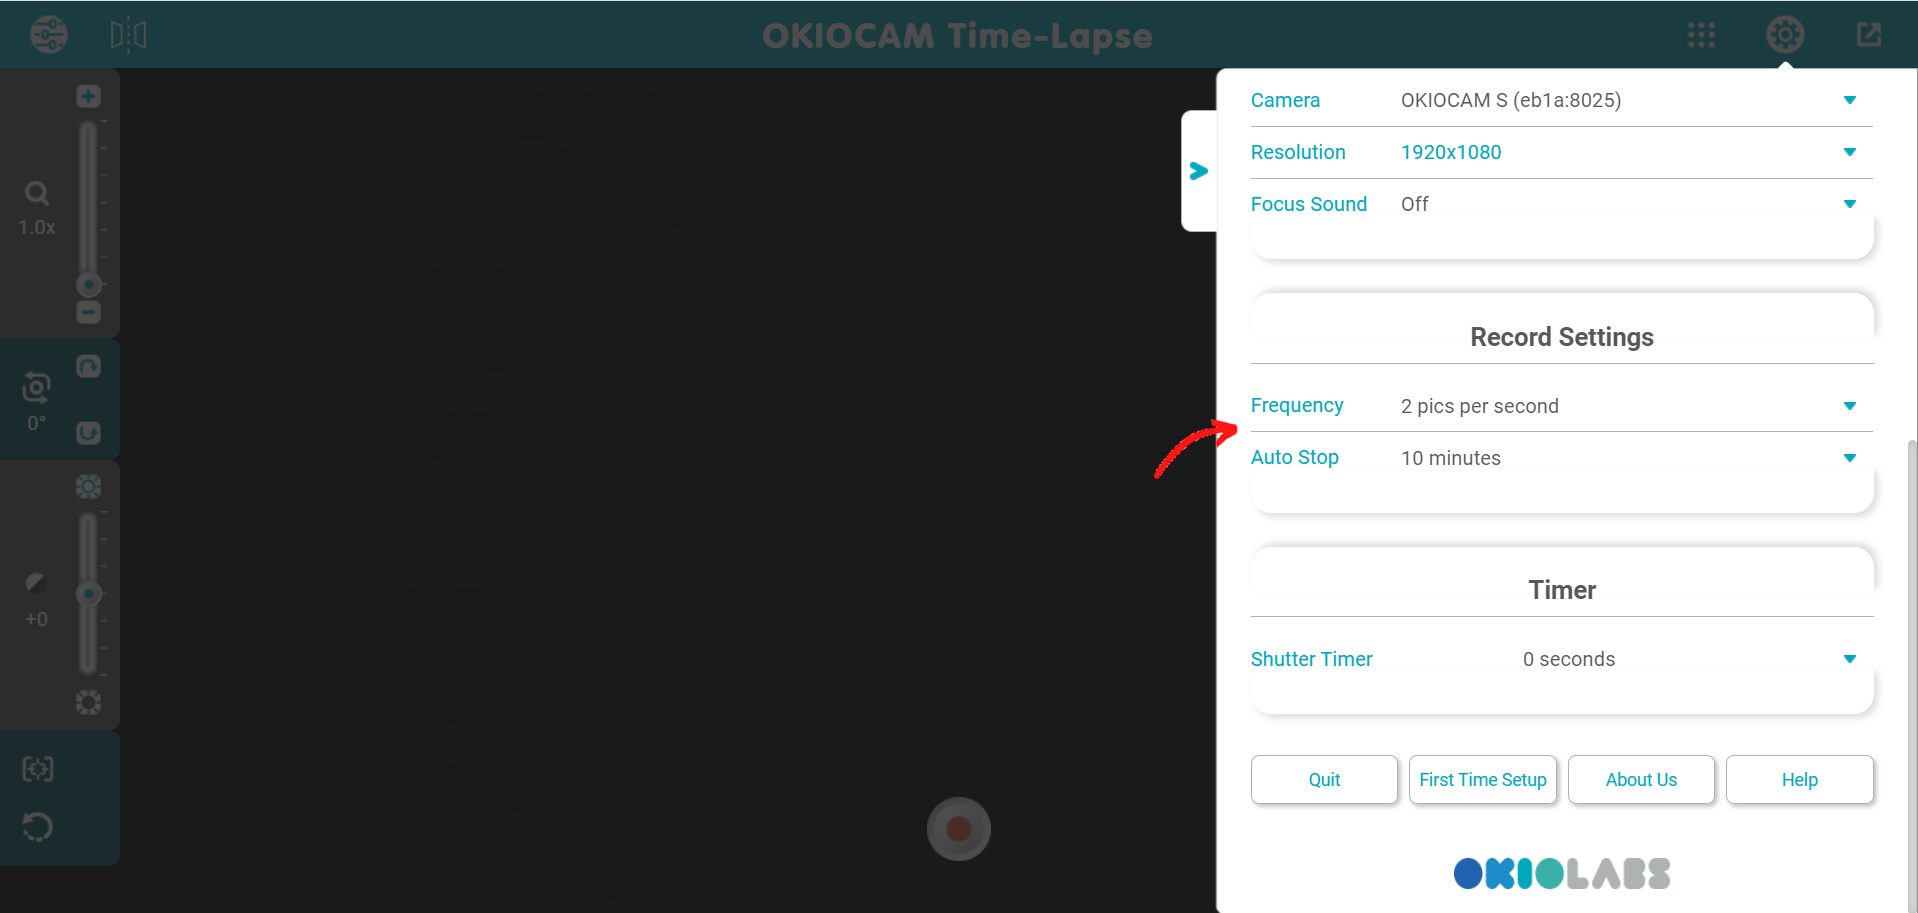
3. (optional) Configure the Frequency and Auto Stop settings within the Settings menu. The Frequency setting controls how many snapshots will be taken every second and the Auto Stop setting controls the length of time that the time-lapse video will be before it is stopped automatically (you can manually stop recording before that amount of time, however).
4. Position the paper on the OKIOCAM’s base.
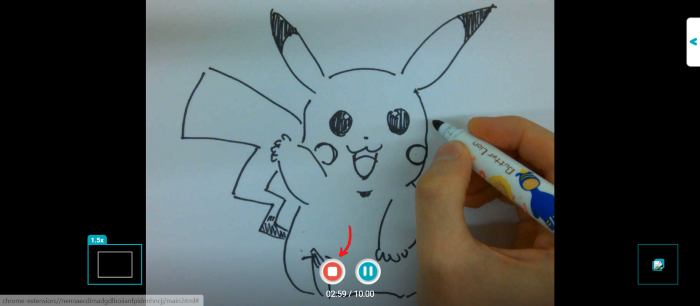
5. Start the time-lapse video creation process by pressing the Start icon.
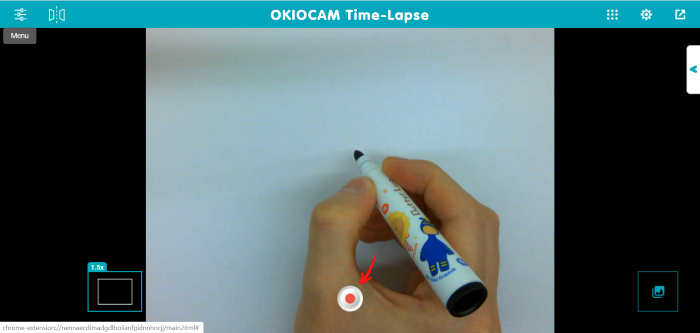
6. Start creating your masterpiece.
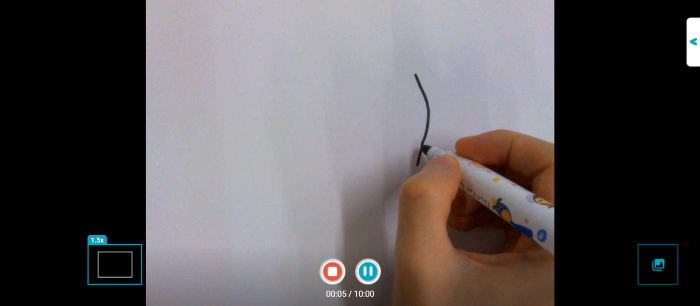
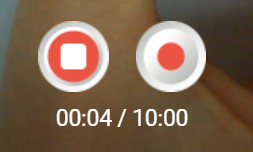
Note: You can pause the time-lapse video recording at any point by pressing the Pause Record button. Resume the recording by pressing the Resume Record button.
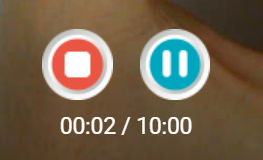
7. Stop the time-lapse video recording by pressing the Stop Record icon. Alternatively, wait until the length of time configured in the Auto Stop setting has been reached.
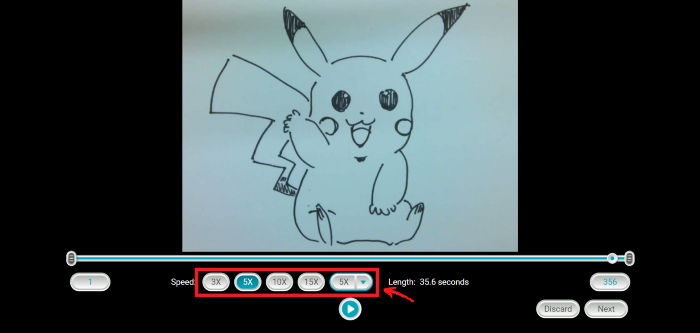
8. (optional) Drag the leftmost gray icon along the timeline to change the starting frame of the time-lapse video. Drag the rightmost gray icon along the timeline to change the ending frame of the time-lapse video.
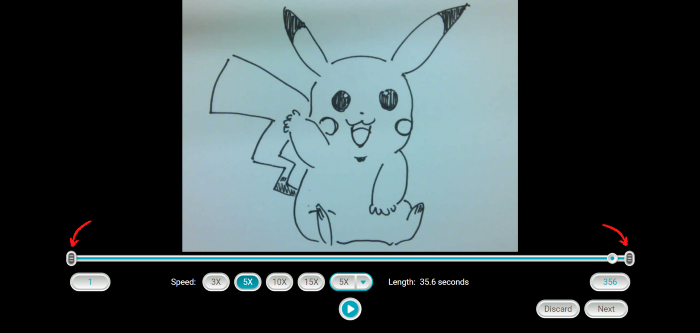
9. Select from the 3X, 5X, 10X, and 15X icons to choose the speed rate multiplier of the final time-lapse video. Alternatively, click on the dropdown menu to choose a number between 2 and 20 for the speed rate multiplier setting. Press the Play button to preview the time-lapse video. Click Next to move to the next stage.
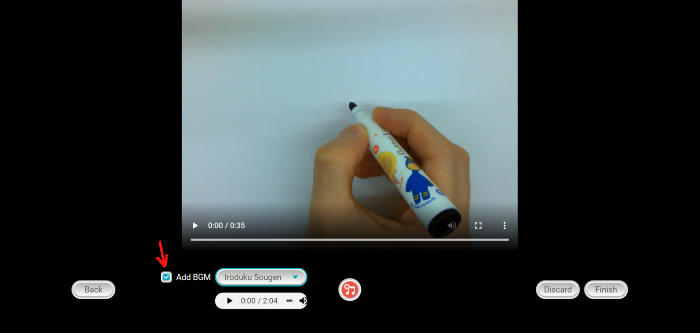
10 (optional) Click on the icon to the left of Add BGM to add background audio to your video. Click the drop-down menu to either choose from a selection of royalty-free music to add to the time-lapse video or upload your own locally stored audio file. Supported file formats: MP3, WAV, OGG, and FLAC. Click on the Start merging (the red circle with the music symbol) icon to merge the chosen audio file with the time-lapse video. If you wish to remove the chosen audio file, press the newly created Remove / Re-merge button.
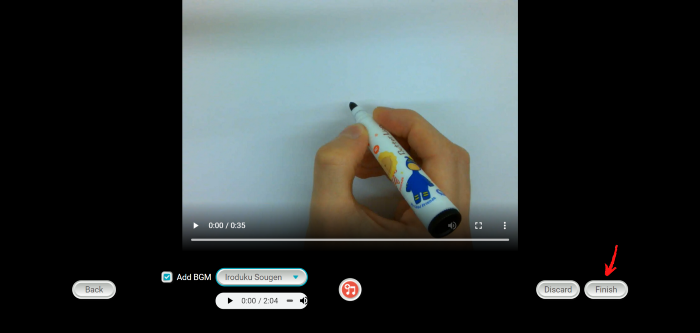
11. Click on the Finish button to finish creating the time-lapse video.
If you have any difficulty following the above steps, please submit a support request here and our helpful support team will gladly assist you.
Comments
0 comments
Article is closed for comments.